

The third shot drop is not the automatic third shot in every rally. It is one option in a decision ladder. Read the return, your contact, opponent position, partner movement, and margin; then choose the shot you can execute and support as a team.

This High Roller training guide focuses on the decision and transition after the shot. It complements mechanical drop drills without repeating a universal “always drop” rule.

Why the Third Shot Matters

After the serve and return, the serving team often begins deeper while the receiving team may move toward the non-volley zone. A soft drop can reduce the opponent’s attack opportunity and create time to advance, but only when contact quality and trajectory support it.

A drive, controlled reset, or other legal shot may fit a different ball. The purpose is not to perform a named shot; it is to improve the team’s position without giving away an easy attack.

Decision 1: Can You Contact in Balance?

If you are set behind the ball with space, a drop or drive can be intentional. If you are stretched, late, or moving backward, reduce ambition. Use a larger target and recover rather than forcing a precise short ball from poor contact.

Record the contact state—balanced, moving, stretched—during practice. Many apparent “drop errors” begin before the swing.

Decision 2: Where Are the Opponents?

If both opponents are established at the non-volley zone, a controlled drop can be useful. If one remains deep or a large safe lane exists, another choice may be available. Do not drive automatically at a body or drop automatically into a target without reading the actual court.

Decision 3: What Height and Speed Can You Control?

A successful drop generally needs a trajectory that clears the net and descends into a location that limits attack. The exact height depends on contact, distance, spin, ball, wind, and player. Use a generous window first; reduce height only after repeatability improves.

Do not chase a tape-skimming highlight if most attempts fail into the net.

Decision 4: Can Your Partner Transition With You?

Call the shot or intention early enough for the team to move together. Advance only as the ball quality allows. A high or fast response may require a split step and defense; a low response may permit another step.

The third shot is not complete when the ball crosses the net. The transition and next contact determine whether the team improved its position.

Decision 5: What Does the Fourth Shot Tell You?

Fourth-shot response Team action Training note
Low neutral return Advance in balance Track split-step timing
Firm ball at feet Reset or defend Do not run through contact
High attack Compact defense Review drop height and target
Opponent stays deep Read open court Avoid preset sequence

Drill 1: Three Contact States

  1. Feed ten balanced third balls.
  2. Feed ten balls that require a small lateral move.
  3. Feed ten stretched balls that require a conservative choice.

The player calls balanced, moving, or stretched before contact, then chooses the target margin. Score the decision separately from the result.

Drill 2: Drop-and-Transition Ladder

Start with a third-shot drop. The receiving player gives a cooperative low fourth ball, then a firmer ball at the feet, then a high attack. The serving team practices advance, split step, reset, or defense based on the response.

Rotate roles every five sequences. Do not increase pace until the team stops running through the next contact.

Drill 3: Drop Versus Drive Read

The feeder varies opponent position or return depth. The working player calls drop or drive before the swing and explains the read afterward. A coach or partner records whether the choice matched contact balance, opponent position, and team coverage.

This is not a contest to choose more drives or more drops. It is a test of decision consistency.

Drill 4: Serve Plus Third-Shot Block

Play points that stop after the fifth shot. Score one point for a serve and third-shot sequence that creates a balanced fifth contact, regardless of who would win the rally. This shifts attention from a single successful drop to the whole transition.

Use Current Rules

Review the current USA Pickleball rulebook for serve, bounce, non-volley-zone, and fault rules. The third shot is governed by the normal rally rules; there is no special “drop” requirement.

High Roller Training Apparel and Hydration

The Lounge T-Shirt listing identifies a 96% bamboo and 4% cotton blend, form-fitting cut, rubberized logo, and sizes from XS through 3XL. Check fit and movement before training.

The High Roller Tumbler listing describes stainless-steel construction, double-wall vacuum insulation, handle, straw, multi-position lid, gold accents, and 40-ounce capacity. Follow current care and lid guidance.

High Roller Paddle Boundary

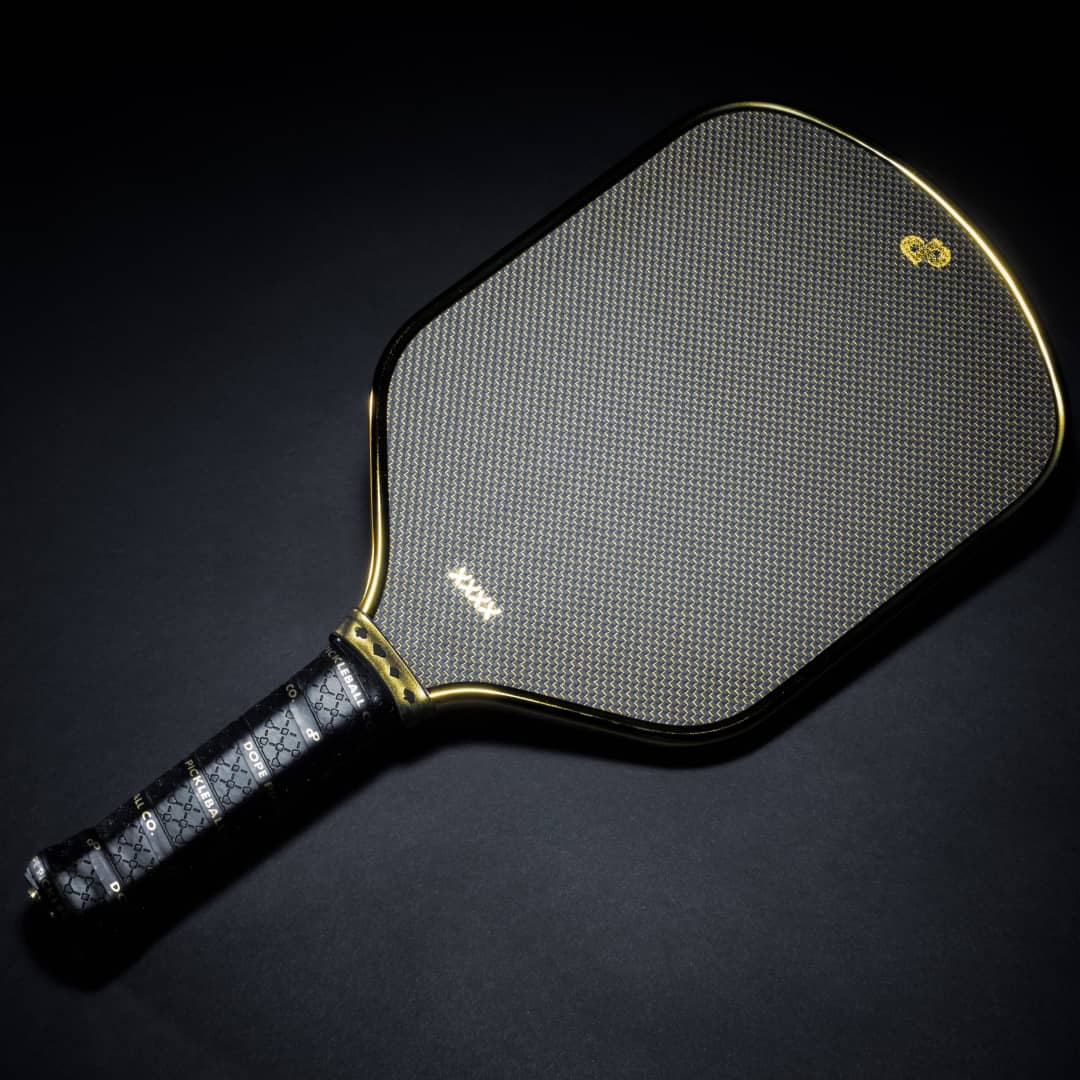
The active High Roller paddle is not USA Pickleball approved. Use it only for recreational or unsanctioned training where permitted. This guide does not claim that the chrome-gold design improves drop mechanics, touch, or transition success.

Third-Shot Decision Tracker

  • Contact state called correctly
  • Opponent position identified
  • Shot choice matched the read
  • Ball cleared with usable margin
  • Partner moved in sync
  • Split step occurred before the next contact
  • Fifth shot was balanced or defensive by choice

Error Diagnosis by Branch

Net errors: review contact balance, clearance margin, and whether the target was too short. High drops: review launch, pace, contact point, and target depth. Late transitions: review partner call and split-step timing. Drive errors: review whether the return and opponent position actually supported the choice.

Do not change mechanics, target, ball, and decision rule at once. Hold the environment stable and adjust one variable for the next ten repetitions.

Weekly Progression

  1. Session one: balanced contact and generous drop targets.
  2. Session two: lateral movement and conservative margin.
  3. Session three: varied opponent position and drop/drive calls.
  4. Session four: live fourth-shot responses and team transition.
  5. Session five: short games scored by balanced fifth contacts.

Repeat a session when decision accuracy falls as pace increases. Progress is a stable branch under pressure, not simply moving to the next drill.

Keep the Serve and Return in the Data

The third shot is shaped by the first two shots. Record serve depth, return depth, and whether the return pulled the server laterally. A weak third-shot result may begin with a short serve or deep angled return. Reviewing the sequence prevents the final contact from receiving all the blame.

Track thirty sequences, then review the branch with the most errors. The goal is a reliable decision ladder, not a perfect highlight drop.

Frequently Asked Questions

Should the third shot always be a drop?

No. Choose based on contact balance, return, opponent position, team coverage, and the shot you can execute with margin.

What makes a third-shot drop useful?

It can limit an opponent’s attack and create time to transition when the trajectory, target, and team movement are controlled.

When should you move forward after a drop?

Advance according to ball quality and the opponent’s response, then split step before the next contact.

How do you practice third-shot decisions?

Vary contact state, opponent position, and fourth-shot response; score the read and team transition separately from the shot result.

Is the High Roller paddle tournament approved?

No. It is not USA Pickleball approved. Use it for recreational or unsanctioned training where permitted.

Powered by Omni Themes